Craig Fox

Website:www.fwengineering.co.uk
Job role:Director / mechanical design engineer
Skills:CAD model development, technical drawings, prototypes, 3D printing, photo realistic renders, contacts with manufacturing companies
Hi, I’m Craig and I run a design and engineering consultancy. My background is in mechanical design and development engineering and I have worked on products ranging from race cars to large diesel engines to health and safety equipment. I’ve always loved getting involved in STEM support with schools and this looks like a great initiative where I could share my design and engineering skill to help bring some amazing inventions to life.
Recent blog entries
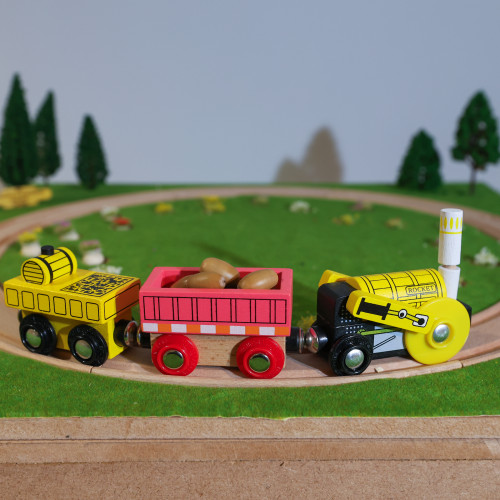
My plan is to move the train using magnets. There will be a little magnet stuck to the bottom of the train and a much bigger magnet that will be stuck to the turntable underneath the tracks. The benefit of doing this? It means we can move the train without actually touching it so that it looks like it's driving itself!
I found a cool model of the Stephenson's Rocket train to use for this project. The real version of this train didn't actually run on the Stockton & Darlington railway. But the first train to carry passengers on the Stockton & Darlington railway, Locomotion No. 1, was made by the same man; George Stephenson.
The magnets work really well at pulling the train along. I've aligned the 2 magnets with their north and south poles facing each other so that they attract together. This attracting force makes the train want to follow the big magnet underneath the tracks, so when the magnet on the turn table moves, the train drives along the track.
The next phase is to make the cam and pin system which will lift and lower flowers from the landscape around the train. Keep your eyes peeled for another update on this soon!
What a great invention! I love the idea of a train travelling around the country distributing seeds to improve the biodiversity along our railways.
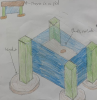
I've taken Elizabeth's idea and starting planning how I'll turn it into a model for the Stockton and Darlington Railway 200th anniversary exhibition. My thinking is this: a train will travel on a circular track pulling a seed dispersing carriage. Underneath the track is a turntable which will rotate a magnet and a cam. The magnet will pull the train above along the tracks. The cam will push up pins covered in flowers, showing that as the train travels along it causes new plants to grow behind it.
I hope this will be an interesting way of bringing Elizabeth's idea to life in model form and show off the great concept of using trains to enhance the nature in our world.
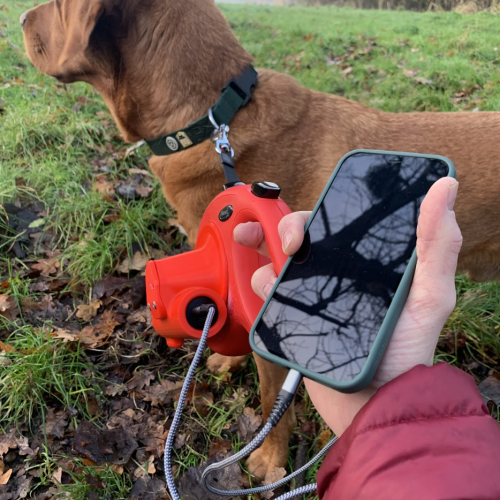
Today I went out for a walk with Reuben the Labrador and used the Leashy McLeashy 2000 to charge my phone!
Take a look at the pictures and see what you think.
I'm extremely pleased with how it's turned out which is a credit to how brilliant the original idea was.